 We were blessed with fantastic clouds, sunrises, and sunsets every morning and night, resulting in some of the best photographic opportunities I have had since moving to Arizona 18 years ago.
As leader of the workshop, however, capturing great photographs is secondary to providing individual attention to the students. However, while everyone was busy firing away, I was able to take a number of photographs that I am very happy with.
 On the first morning, we were guided by our experienced Navajo guide to two vantage points of the famous Totem Pole and Yei Bi Chei formations. The clouds were simply phenomenal. As always, I used a Singh-Ray “lighter and brighter” LB Polarizer for all the photographs in this story. This first image was taken about 15 minutes before sunrise after taking a 45-minute, 4-wheel drive excursion in the dark to get there. I went wide to give a great view of the awesome cloud cover. The incredible dynamic range of my Nikon D800 and world-class acuity of the Zeiss 21mm T* Distagon lens allowed me to capture unprecedented detail in a single image. Using a polarizer on such a wide lens when so much sky is included is a tricky proposition, since it is easy to over-polarize areas that are close to 90 degrees from the sun. Backing off from maximum polarization is the key to avoiding this phenomenon.
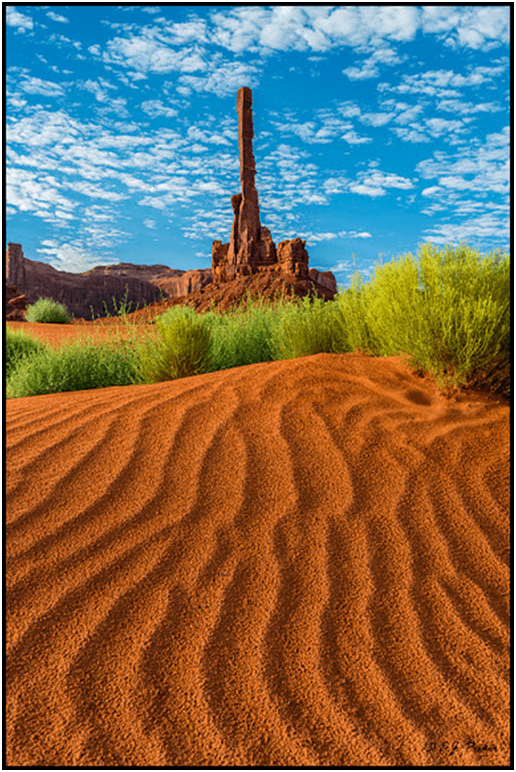
 After sunrise we hurried to the sand dunes at the foot of these awesome 400- foot-high rock spires. Again the clouds were in our favor and resulted in some incredible photographic opportunities. Some rain showers overnight knocked down the ripples in the sand a bit but also added a significant amount of texture which we can see in this second photo. Again I had to back off slightly from maximum polarization to avoid a dark spot in the sky in the upper right of the photo.
To record maximum detail without encountering any reduction in resolution due to lens diffraction, two exposures were taken at f/7.1. The first one was focused on the ripples about one quarter of the way up the frame; the second was focused on Totem Pole. This allowed my Nikon 28mm f/1.8 to record exceptional detail in both the foreground and background images with plenty of overlap to give extreme sharpness and detail throughout the frame. The two images were easily combined in Photoshop.
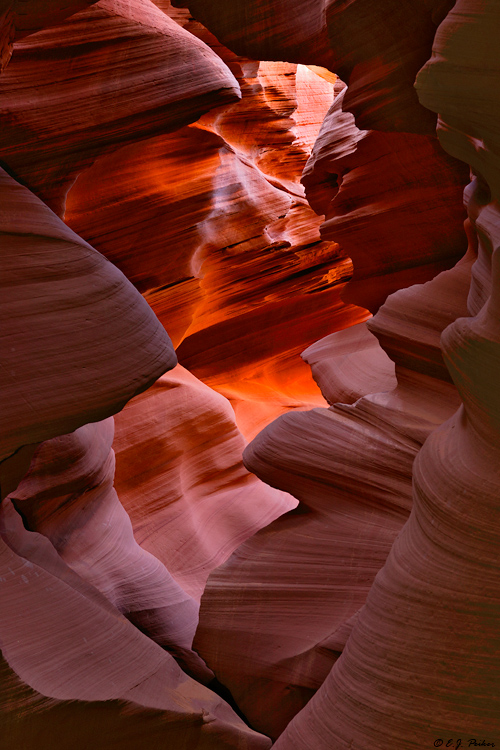
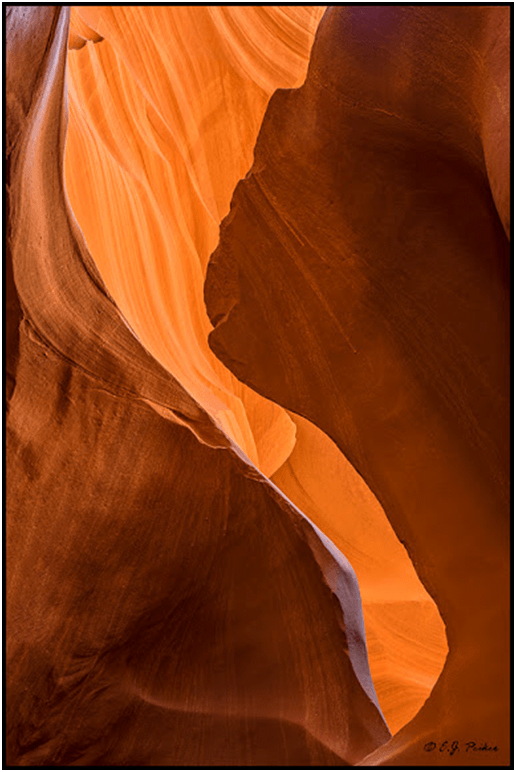
After two spectacular days in Monument Valley, we moved on to Lower Antelope Canyon. Antelope Canyon Park includes two slot canyons. Upper Antelope Canyon is large and wide and attracts more visitors, but it is nearly impossible, especially in summer, to get photographic opportunities without other people in the frame. The much narrower Lower Antelope Canyon, while also busy, is so narrow that it is relatively easy to take photos without including other people. With our special two-hour photo permit we could easily get whatever photos we desired in between guided groups passing through.
One might not think that filters are important inside a narrow slot canyon, but I have found them to be essential to record the deep color saturation of the sandstone walls. The polarizer affects the image inside a slot canyon in three ways. First it removes bluish reflections off the non-vertical surfaces from the overhead bluish light provided by the sky. Second, it eliminates the stray light scatter off the texture of the very coarse sandstone, thereby allowing the camera to capture much more texture detail. Finally, often the canyon walls can be moist, especially during wetter times of the year. A polarizer removes any moisture sheen on the canyon walls. This third image, taken deep inside a very narrow part of the canyon illustrates the sheen reduction well. There are still slightly visible reflection areas but without a polarizer at full polarization, these become overly bright and distracting in the image. The polarizer also significantly increased the color saturation in both the foreground and more brightly lit background walls. Without a polarizer, this image simply would be flat and lose much of its impact.
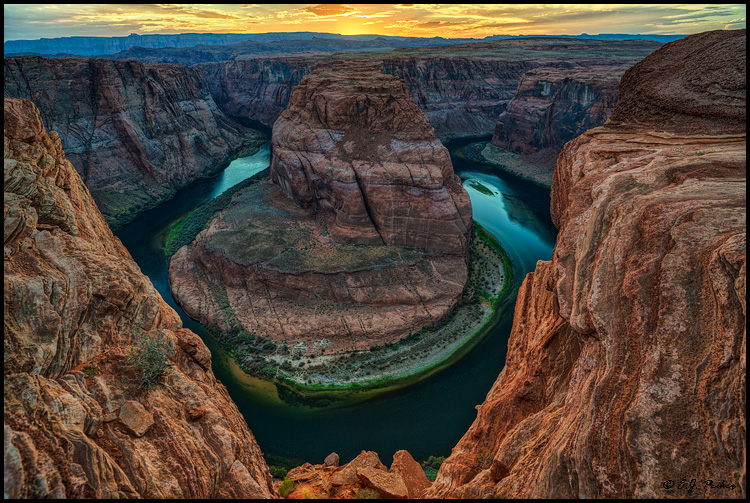
 Our next stop was the spectacular Horseshoe Bend overlook above the Colorado River as it cuts its way through Glen Canyon and on its way to the Grand Canyon. This is a difficult place to get a new and unique vantage point. Fortunately we were again blessed with a wonderful sunset and I was able to find a vantage point that I have not seen in other photographs. I was able to create a somewhat unique photo from this spot by tapping into what others have called an ‘irrational LACK of fear of heights.’
In this photo I again used my Zeiss 21mm lens with LB Polarizer to frame the image. Polarization was key to getting the water below to have color and depth rather than just a pale, nearly white reflection of the sky. It also allowed recording of the gorgeous colors of the wall. Three images were taken at different exposures to capture the entire dynamic range and a technique called Luminosity Masking to blend the three exposures into one was utilized. HDR software was not used. This appears very much as the human eye, with its incredible dynamic range, saw the scene.
 After a morning photographing at Lake Powell and some stops along the way, we made our way to our final destination for a couple of days of shooting at the spectacular North Rim of the Grand Canyon. I prefer the North Rim to the much more popular South Rim for several reasons — including lower temperatures, fewer crowds, more solitude, a beautiful forest, and spectacular meadows.
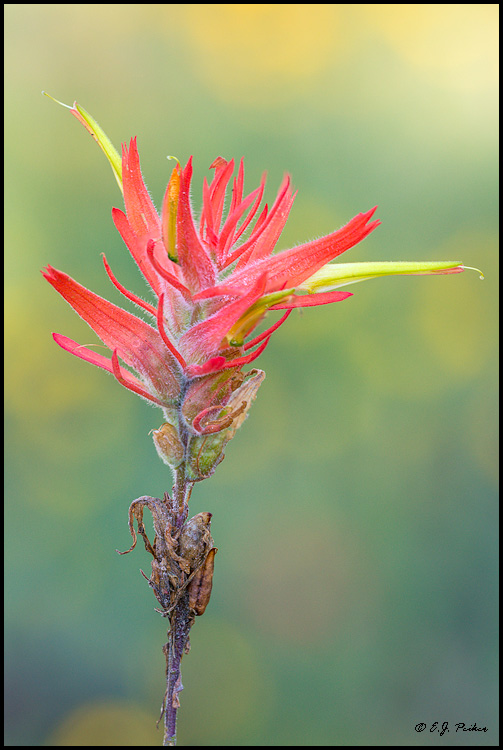
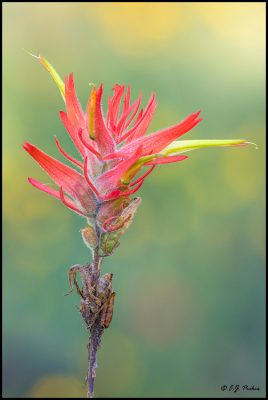
We spent plenty of time at all of the major lookouts and also stopped to photograph this year’s amazing late summer wildflower breakout in the region, which is the result of an unprecedented amount of rain during the summer. This is the first time I have ever been in northern Arizona when the fire danger was set to ‘low’ in the summer!