Lightning storms capture the attention of just about everyone. Bolts catapulted through the sky are spectacular to view and dangerous to be too close to. While most prefer to view grand shows of lightning from the safety of their abodes, some of us chase the radar in pursuit of the perfect scene against the perfect storm.
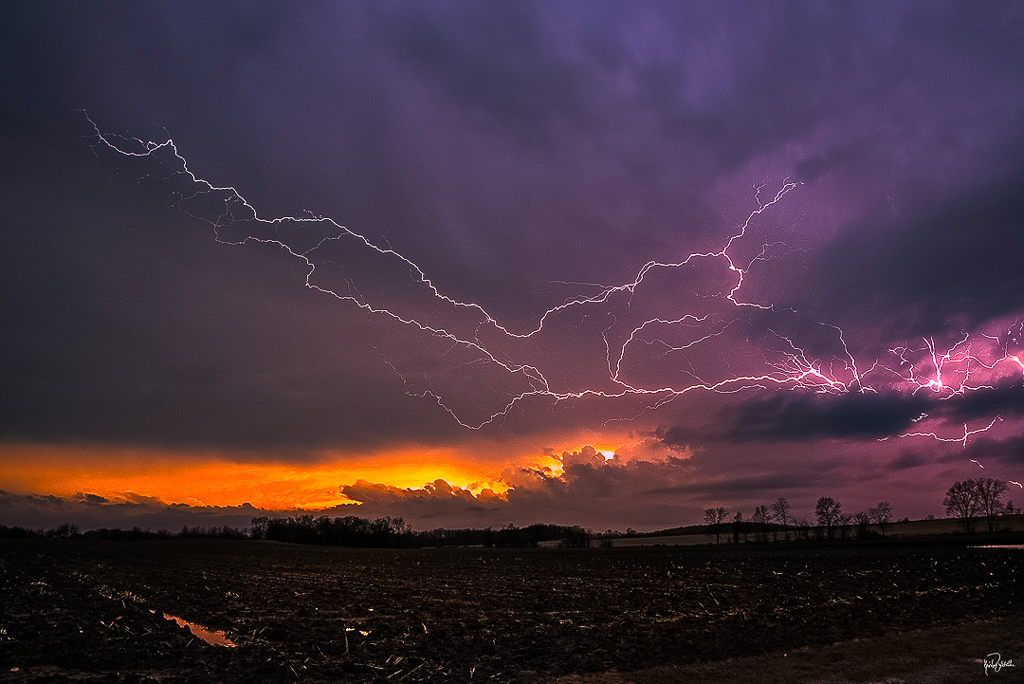
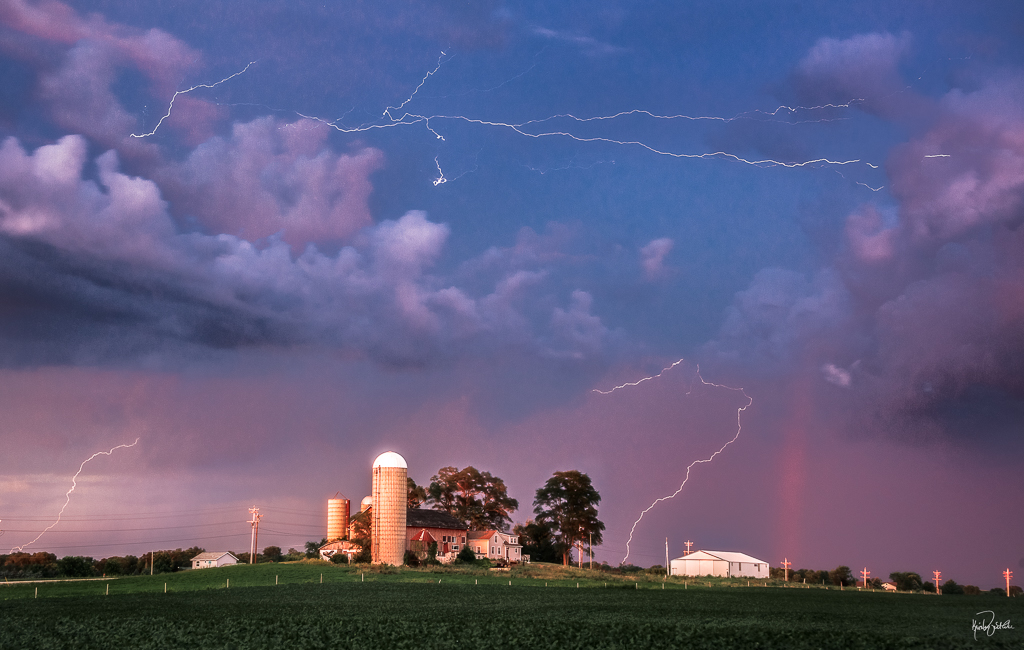
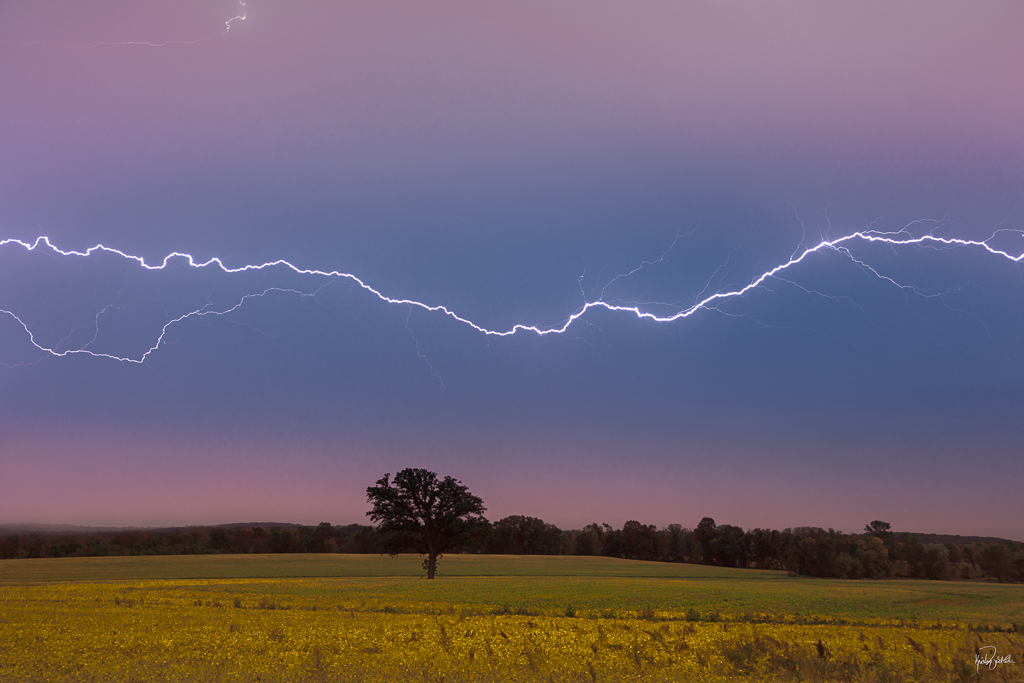
Though lightning contrasts dramatically against the night time sky, my preference is the appearance of lightning at dusk. The lightning becomes a part of the scene versus being the subject itself. We all have memories of lightning as a subject unto its own; we don’t have much time to register the scene when lightning strikes. To portray the drama within a landscape shows relationship between us and it.
Photographing lightning on a dark night is relatively easy to do. A typical approach is to use a wide angle lens, set the camera on a tripod and manually expose to infinity. Keep your shutter open for your camera’s max (usually 30 seconds). Use a remote shutter release to continually record at 30 second intervals and if your camera has an intervalometer, all the better. Don’t forget your headlamp!
A short note about infinity focus: It is important to know where your lens’s infinity focus is; it isn’t always at the infinity mark on the lens. Experiment with your lens prior to going out at night.
ISO and aperture settings are best left to the brightness of and proximity to the lightning.
The more distant and dim the lightning is, the more light you’ll want to let reach your sensor in the time your shutter is open. An ISO of 400 and an open aperture of f/2.8 will let that distant and dim lightning strike register best. An ISO of 100 and aperture of f/22 would likely not register distant and dim strikes at all.
Remember, lightning is a moving force that lasts for a split second when it occurs. Therefore, if your shutter is open for two minutes or two hours, it won’t make a difference in registering distant and dim lightning if settings aren’t allowing enough of its light to register in the short duration of its strike.
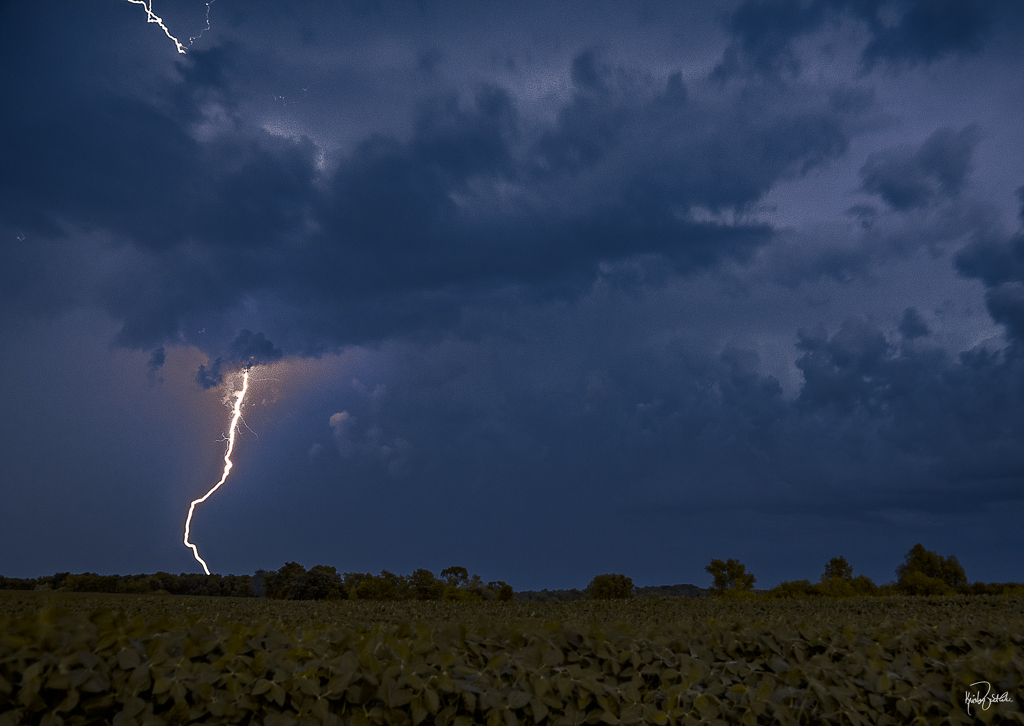
On the other end of the spectrum, very bright and close lightning requires less light-sensitive settings to ISO and aperture. An ISO of 100 and f/16 could be fine for bright and close flashes. A smaller aperture will also render the lightning flashes nice and thin with detailed branches. A larger aperture could blow the details of the strike out, making the strike look puffy.
An overview of night lightning in a dark sky is helpful prior to moving on to daylight and dusk lightning photography. While it may appear to be more challenging, similar principles apply to both daytime and nighttime lightning photography.
Let’s review the principles and see how we can apply them to daytime/dusk lightning photography. In this review the challenge becomes obvious. There are a few solutions to the challenge; the one I use is not so obvious but it works.
Let’s pretend we are set up in front of a gorgeous scene and there is distant and dim lightning. We have camera and lens set up on a tripod, our lens set to infinity, our remote shutter is ready to go, we have our ISO set to 400 and our aperture set to f/2.8. We have our shutter speed dialed in at 30 seconds. We press the shutter and a strike occurs during the 30 second exposure. We jump for joy and when the exposure is completed, we see complete a white-out on the back of our LCD. We stop jumping for joy. No, nothing is wrong with the LCD. The problem is we are now working with a light sky versus a dark sky.
So we set our shutter speed so that the exposure is correct for the scene. But now the shutter speed is too fast for us to react to the lightning when we see it. Even if we were able to slow our shutter speed to maybe six seconds by adjusting our ISO to 64 and our aperture to f/32, we’d miss the distant and dim strike. Remember, a distant and dim strike needs more light to the sensor and we just took that away with low ISO and small aperture settings.
We must scratch our heads for a minute to investigate what the challenge is and how we might resolve it. We need roughly similar ISO and aperture settings to what we had, but we are severely over exposing everything. If we could find a way to either be fast enough on the draw to react to the lightning with a fast shutter speed, or if we could find a way to slow the shutter speed down, as if it were night, we’d be back in business before the storm ends.
Many photographers utilize lightning triggers, which do indeed react to the lightning, triggering the shutter release. The good news here is that you can expose for the scene as you wish, and the lightning trigger will trip the shutter at any speed.
I’ve utilized a few lightning triggers, however, I itched to be a little more hands on with my approach. I didn’t dislike the triggers and I don’t have anything bad to say about them. I just happened upon another approach that I enjoy a bit more (and have more control over).
The lightning trigger allows a photographer to be ‘fast on the draw’ by tripping the shutter. Yet I wondered how I might force a longer shutter speed instead.
It’s rewarding when a tool for one use can be employed to do something out of the ordinary. I love my Singh-Ray Mor-Slo Solid Neutral Density Filters for their typical use of creating ethereal scenes with water. I love how they simplify and silken rough water on lakes and how they create satin streams within waterfalls. I enjoy also the effects on clouds when I wish to blur them a little or a lot. That said, I have the 5-stop, 10-stop and the 15-stop NDs from Singh-Ray.
I’ve pulled the 10-stop out to eliminate people from popular national park scenes. I’ve also used it on a day when there were hoards of visitors to the Apostle Islands Ice Caves a few winters ago. It’s funny how people react when they see me set up and they are worried that they’ve ruined my image. They look at me quizzically when I tell them they won’t even appear. Scenes that have many people become desolate and quiet with these filters in front of my lens.
What if I used the Singh Ray ND Filter to do what it does best and apply it to lightning? It worked and it continues to work for me. The difference I find between it and a lightning trigger is this:
A lightning trigger will render the use of the faster shutter speed during dusk and daylight. This means that clouds and water within the scene will also be rendered as they look.
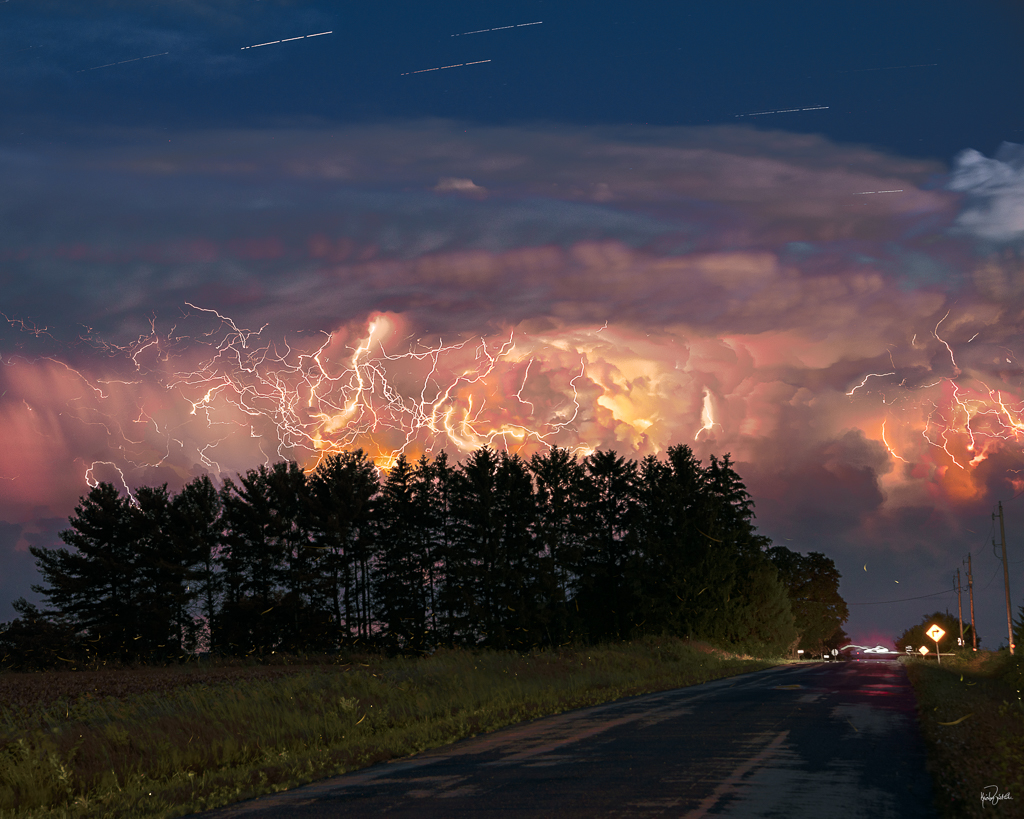
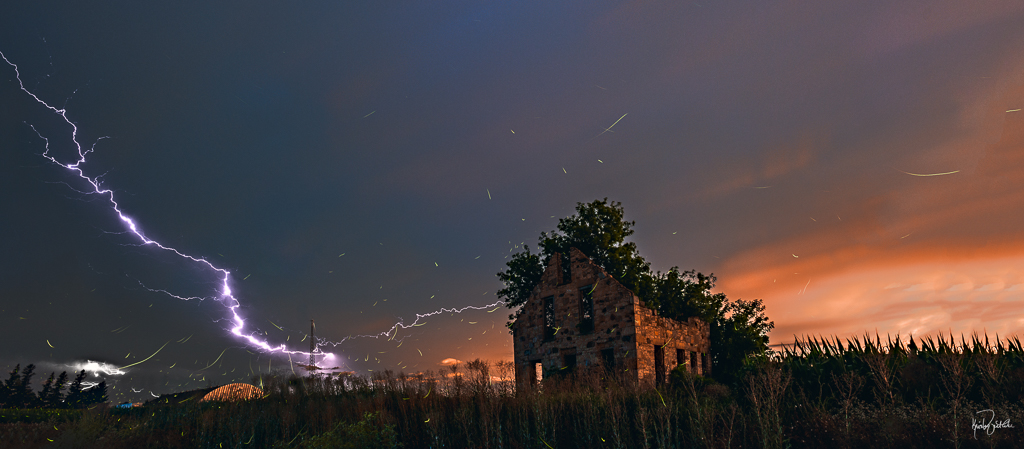
I typically use the Mor-Slo 5- or 10-stop Filters for lightning. Using an ND filter means a slower shutter speed. Like it blurs fast-moving water and clouds, it will do so within scenes with lightning as well. It will also capture the lightning, branches and all, within the allotted shutter speed. I use whichever ND filter will give me at least five seconds of exposure. If I want more cloud blur or water blur within the scene I will take that into account when choosing which filter to use.
A lightning trigger plays specifically to the lightning. The use of an ND filter gives me control over the lightning in tandem with the foreground scene.
It’s a beautiful thing to find the non-conventional uses in our tools. Remember to break the rules when it doesn’t make sense not to. When I couldn’t find anything in a Google search to tell me how ND filters are used for lightning photography, I knew I’d stumbled upon something unique. Now those searching will hopefully find this.