
 For me, a lot of the fun of photography is picking which new area I want to go photograph. I’m spinning a virtual globe and searching for the next spot. Once I find that location, the real work begins looking for the spots I’ll visit when I arrive. A lot of that process is done prior to ever stepping off the airplane and actually seeing the place with my own eyes. Searching images, trail reviews and looking over Google Earth over and over again. I spend HOURS online searching for the places I’ll visit.
A lot of people might assume that I spend the time looking for photos, so when I arrive my compositions will be easier, and I’ll know which iconic places to hit… and to a very small extent that is true. I do want to capture the iconic places, because when people are searching your portfolio for images of a certain area, they do want those images…and if you don’t have them, they will buy them from someone who does. It’s just good business to make sure even the overshot places are in your portfolio…a lot of time those images will be the ones that initially draw viewers in.
From a personal standpoint, I really don’t like photographing the iconic spots all that much. I would prefer to hit them once, get a shot I like, and then never come back again. I much prefer spending my time looking for the new angle, or trying to see the iconic in new ways. One of the main things I look for in my online search is a less-than-great image (in my opinion). I like the good ones, sure… but the only thing I really take away from a good image is an idea of what I’m going to try and NOT duplicate. What I gain from looking at not-so-great images is far, far better and more valuable to me than great photos.
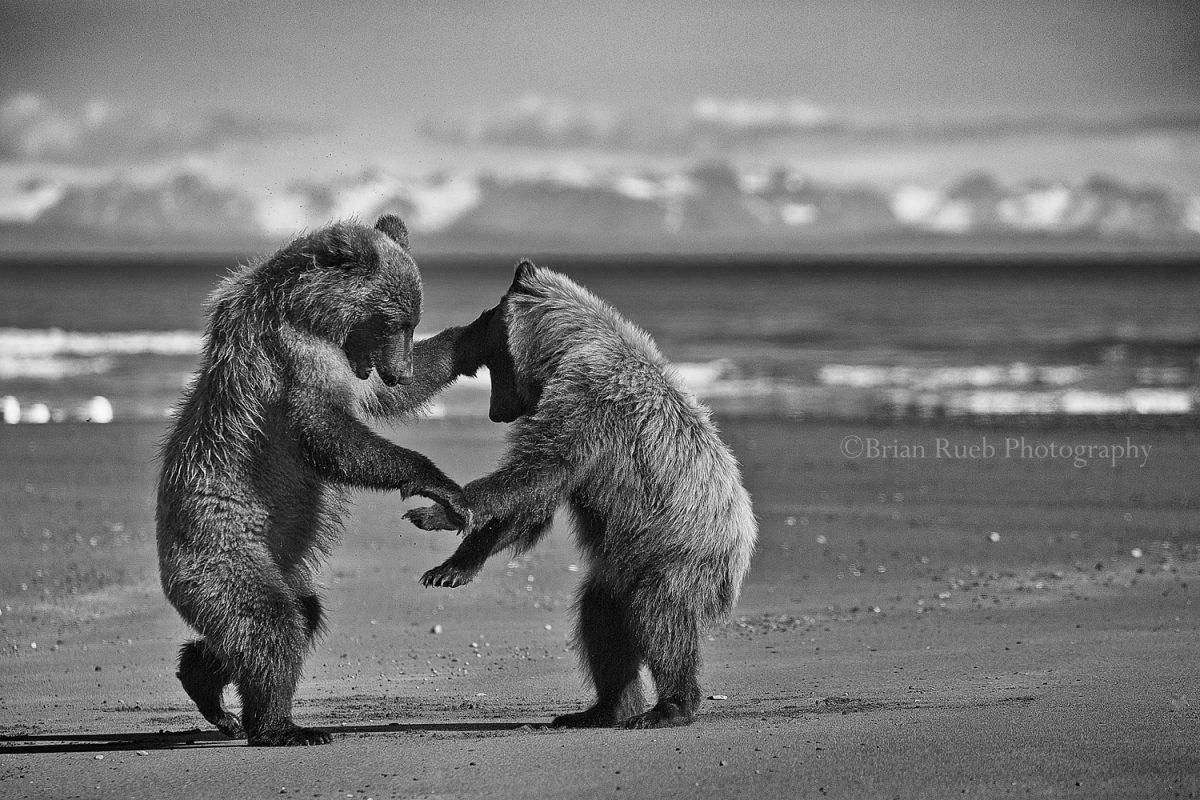
Many times hikers, climbers and adventure seekers are not photographers. They are not serious about creating a fine piece of art… they simply want to document their journey and then share it with their friends. When looking at these images, I can sometimes spot a location that has a lot of potential and then envision how I might interpret it with my camera in better light, and with more knowledge of the medium. I’ve found many new locations this way…by looking through very bad pictures of very cool places. Happy snaps, phone shots, they all can yield very valuable information to help me be better at what I do.
Once I’ve devised a list of places to see on my journey, I print out a map of the country I’m traveling to. Then I start to plop pins on it for every location or general area I want to shoot. Once the map looks like an acupuncture patient, I start to look where the highest concentration of pins are located, because those areas will be the spots I set up camp, or base my overnight stays. Once the trip is laid out…then comes the really fun part…figuring out what to bring.
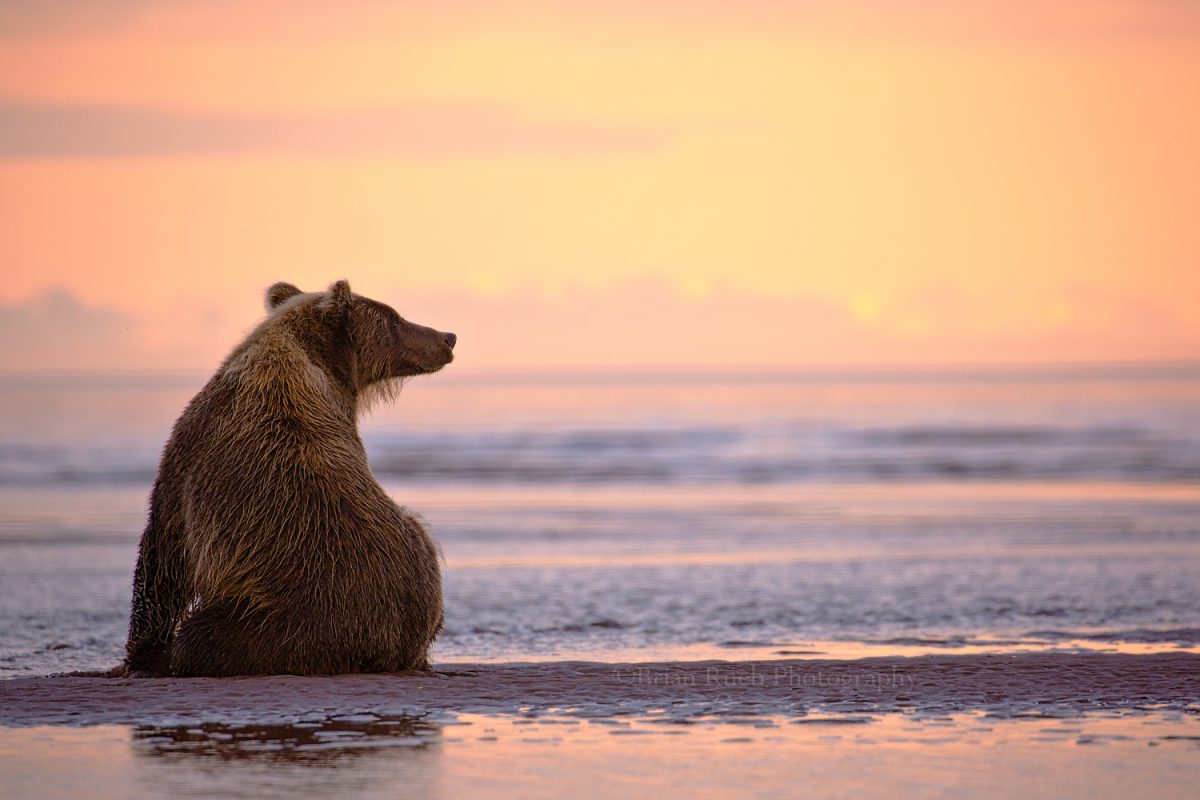
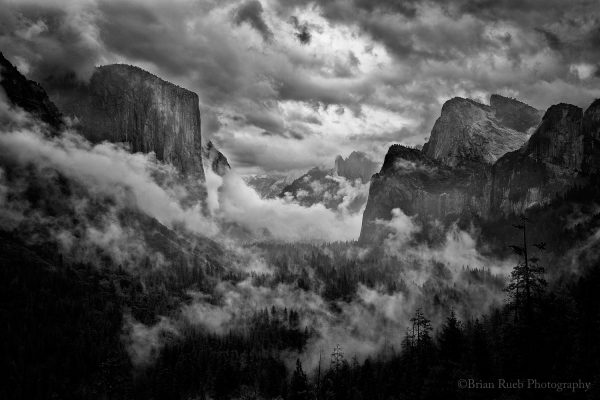
 In my planning stages I look through lots of photographs, as I mentioned…this get me into the act of pre-visualizing what I might be looking for in specific locations. For instance, this past winter in New Mexico I knew the weather would always be changing, and that my window of opportunity for good sunset or sunrise light was going to be much smaller than it is, for example, when I’m in Iceland in the summer. There, as you may know, good light can be often found by just driving farther because the window for such light is very large – think five-hour sunset/sunrises versus 15-minutes of sweet light.
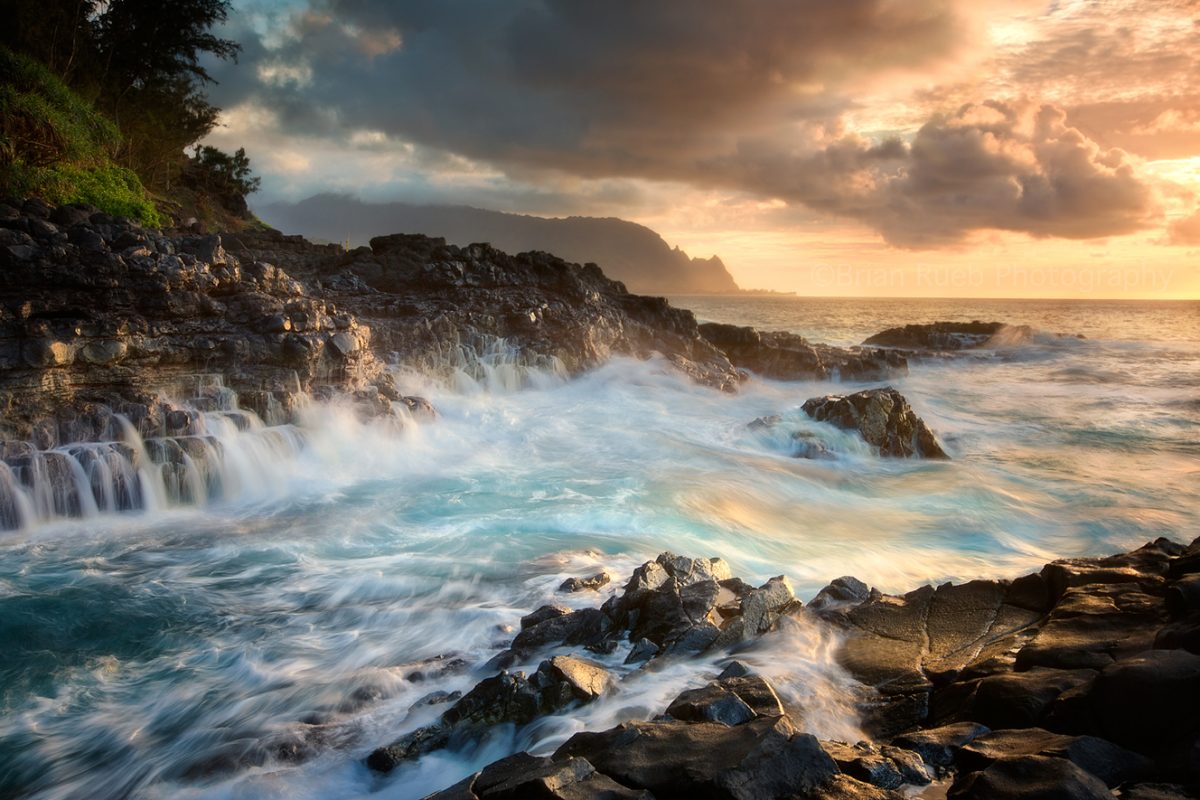
I don’t ever want to confine myself to shooting strictly in specific times of day. Yes, I’m always hopeful for a good sunrise or sunset…but chances are I can’t and shouldn’t depend on anything. This puts me into a mindset of looking for long exposure possibilities. Which means two things I will put in my bag for certain are my 10- and 15-stop Singh-Ray Mor-Slo solid ND filters. Why both? When there is still plenty of light during the middle parts of the day, I typically use the 15-stop, which can easily extend exposure time to 90 seconds or more, even in bright light. That’s helps me blur/streak any clouds that happen to be moving through the scene and create some nice effects. During the less bright light of the morning or evening or if it’s overcast, I’ll use the 10-stop Mor-Slo, which will produce similar long-exposure results as the 15-stop.
I’m a landscape shooter first and foremost… so if I anticipate I’ll be shooting mostly landscapes, I’ll just bring both lenses, then switch them as needed… using the 16-35 for sunrise and sunset shots, and switching to the 17-40 lens for long exposures. If I think I might be shooting some other general type images, of street scenes, or people I will bring my 24-105mm and leave the 17-40 at home. If the opportunity for long exposures arises, I will shoot that lens at 24, scoot back and make due. If I’m heading out to shoot primarily wildlife, I will bring my 70-200 and my 100-400 lenses for certain. Both are heavy, so I will often leave my 17-40 and 24-105 at home and bring just the 16-35 in case a landscape opportunity arises.
 Why don’t you just bring all of them, people will often ask? If I’m driving and have all the space I need, sometimes I do. But two camera bodies and six lenses are heavy! If I’m doing a lot of hiking, I don’t want to carry extra weight I don’t absolutely need. There isn’t a lot worse than hiking ten or more miles with heavy lenses – and never taking them out of the bag!
For me, part of the fun in photography is making due with the gear you have, except when an obvious gap I could have anticipated costs me an image unnecessarily.
However, sometimes not having the lens you want can lead to better images when you’re forced to think in a different, more creative manor. A good example of making an unplanned lens work happened the first time I visited the Glacial Lagoon in Iceland. I was so set on using a wide angle lens that I didn’t even bring another lens. On a later trip. I left my wide angle in the car, and instead used my 100-400mm lens. My main focus was getting shots of people in my group shooting the lagoon. Because I only had this lens, I was able to shoot longer and get some compression between the ice and the background glacier… and actually I felt I did a better job of conveying how that scene was playing out. I don’t ever go there now without a longer lens in my bag. I have a lot of images that are the result of similar experiences… and I’ve learned that having at least one other lens option (wide angle in the bag if telephoto on my camera, etc.) is critical.
Obviously a major thing to consider on trips that require a flight is the weight of your carry-on. There’s no photographer I know who’ll say, “No problem, I trust the airline – I’ll just check through ALL my gear.”
 When I travel overseas, I put a considerable amount of effort into packing my carry on. For instance, this summer I’ll be gone for six straight weeks on six different airlines, with no opportunity to get back home to get more gear… so everything I need or think I’ll need for the trip will be in that one bag. I’ll bring a body and back-up body. I’ll bring my 16-35 for all wide-angle landscape shooting. Then I have a few options. I know going to Scotland I’ll need those solid 10 and 15-stop ND filters. They don’t fit on my 17-40… but they do fit on the 24-105. The 17-40 lens will be staying at home. I would like to bring two of the following three lenses; 24-105, 70-200 and 100-400. This forces me to again look at what I’ll be shooting on my time away. The 70-200 is my sharpest lens. I’ll bring that for walking around, portrait shooting and general lifestyle type shots I encounter. The 100-400 has some advantages, but is mainly a wildlife lens for me… and my goal of the first portion of summer is not wildlife related, so I won’t actively be seeking it out. Granted, I may come across some, but if that happens I know that my backup camera is the Canon 7D with a crop factor will make my 70-200 closer to 300mm at full zoom, and the sharper lens will help as well. So, should I come across wildlife in my first six weeks, I’ll be confident using that 70-200mm on my 7D, enabling me to leave my much heavier 100-400 at home.
The result is that I will have a solid coverage range from 16-200mm on my trip, and the ability to stretch to about 300mm if need be with my backup body. Any gaps or areas I’m not able to fill with that lens set up, I’ll need to make up for with creativity – not a bad thing!
I of course bring my tripod, which is carbon fiber, so it’s lighter and able to attach to my bag. I bring the Singh-Ray Mor-Slo solid ND filters, one of their polarizers, and a 3 and 4 stop Rowell soft-edge grad filter, as well as a 3-stop Benson reverse grad filter that I use often when shooting seascapes. That’s one of those planning things I always think about. If I’m shooting seascapes I always bring my Benson reverse-grad filter. The 3-stop reverse grad works really well when you’re shooting a body of water with a very bright horizon line, such as you would get at sunset and sunrise. The Rowell grad filters are great to cover exposure when you’re shooting away from the sun. And all of them are light and don’t take up much space.
 Filters are a great way to help add some creativity to what you shoot. They can add or intensify color, lengthen exposure times, add or subtract reflections, and generally give each scene more options than you might have without them.
Planning. That’s it. The more you plan and do your research, the more likely you are to be properly prepared when those special moments arise. There is almost always a trade-off with photography, though. But, by doing your best to anticipate the locations you’ll be in and the situations you’ll face, along with the creative options you’ll want to have, will help you assemble the best gear combination – and come back with as many memorable images as possible!